True musical literacy isn’t about memorizing rules; it’s about mastering a powerful communication tool to express and understand musical ideas with total clarity.
- Effective notation focuses on reducing the performer’s « cognitive load, » making the music easier to play.
- Different notation methods—from handwriting to graphic scores—serve different communicative purposes.
Recommendation: Shift your focus from simply ‘getting the notes right’ to ensuring your written music clearly communicates your full artistic intent to another musician.
For many self-taught musicians, music notation feels like a locked door. You can play by ear, you have a great sense of rhythm, and you can create compelling melodies, but the moment a sheet of music appears, a barrier goes up. You’ve likely heard the common advice: memorize acronyms for the lines and spaces, drill flashcards, and just force yourself to learn the « rules. » This approach treats notation as a rigid, academic exercise, a code to be deciphered rather than a language to be spoken. It focuses on the what—the names of the dots—but completely misses the why.
The result is often frustration. The process feels slow, disconnected from the fluid, intuitive way you already make music. This disconnect is especially painful when you want to collaborate. How do you share that complex rhythm in your head with a drummer? How do you hand a clear, unambiguous melody to a singer? Relying on recordings and verbal explanations alone can lead to misunderstandings, wasted rehearsal time, and a dilution of your original creative vision. The very tool that should enable communication becomes a source of friction.
But what if we’ve been looking at it all wrong? The key to unlocking musical literacy is to stop treating notation as a set of rules and start seeing it as a powerful, flexible system for communicative clarity. It’s a technology designed to bridge the gap between the music in your head and the sound a collaborator produces. Mastering it isn’t about rote memorization; it’s about understanding how each symbol, each spacing choice, and each layout decision serves the ultimate goal: conveying musical intent. This guide will reframe your approach, moving beyond basic transcription to the art of effective musical communication.
This article provides a practical roadmap to achieve that fluency. We will explore the cognitive benefits of writing by hand, the professional standards that make scores easy to read, and the creative possibilities that open up when you know which notational tool to use for the job. Prepare to transform the dots on a page from a foreign alphabet into your most powerful collaborative language.
Summary: Your Path to Mastering Musical Communication
- Pen and Paper: Why Writing Notes by Hand Helps Memory
- Engraving Rules: Making Your Scores Look Professional
- Graphic Scores: When Standard Notation Fails
- What’s the Difference and When to Use Which?
- Moving the Dots: Writing for Saxophone or Trumpet
- Guideposts on the Staff: Using Reference Notes to Read Faster
- From Brain to Paper: Using Solfège to Write Down What You Hear
- Demystifying the Grand Staff for pianists and composers
Pen and Paper: Why Writing Notes by Hand Helps Memory
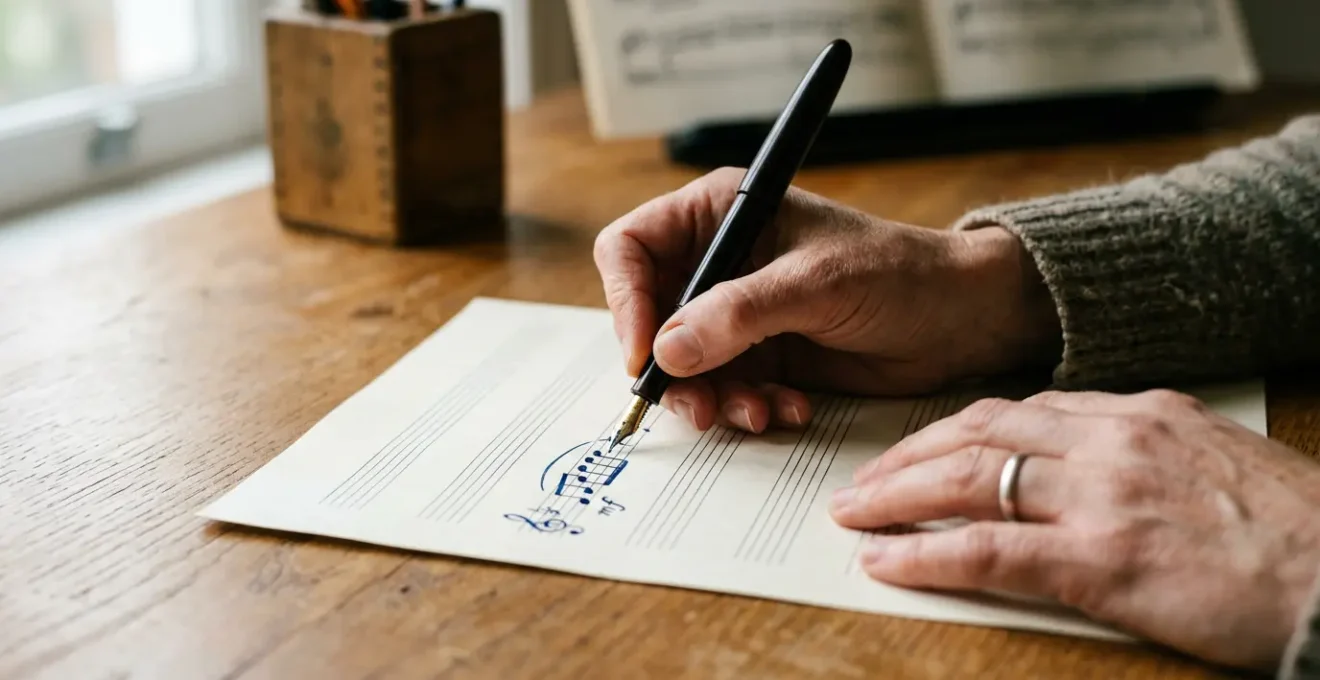
In an age of powerful notation software, the idea of writing music with a pencil and paper can seem archaic. Yet, engaging in this physical act offers profound cognitive benefits that are crucial for developing true fluency. The process of handwriting is far more complex than typing; it involves a unique combination of motor skills, sensory feedback, and spatial reasoning. This richer experience helps to encode musical information more deeply into your memory, transforming abstract symbols into tangible knowledge. It’s not just about what you write; it’s about the physical act of writing itself.
This concept is supported by neuroscience. Research from the University of Tokyo found that participants who wrote by hand on paper finished a task about 25% faster than those using a tablet or smartphone. More importantly, the act of writing by hand stimulates more complex brain activity, creating stronger and more elaborate memory traces. When you draw a clef, shape a notehead, or add a stem, you are engaging your brain in a way that simply clicking a mouse cannot replicate. This physical connection reinforces the visual information, making it easier to recall later.
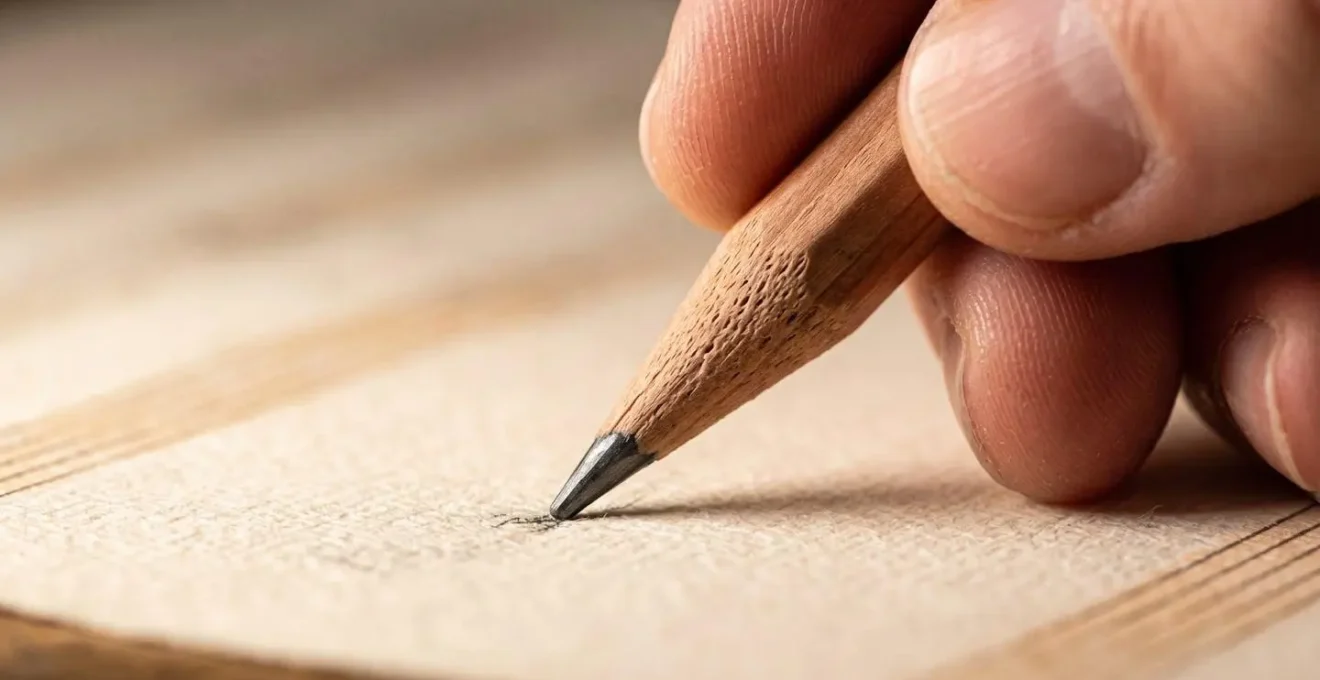
The tactile feedback from the pencil on the paper—the slight resistance, the texture, the sound—creates a multi-sensory learning experience. This process is essential for building what we can call kinesthetic anchoring: connecting a visual symbol to a physical feeling. As you practice writing notation, you’re not just learning what a C looks like; you’re internalizing its shape and location through muscle memory. This is particularly valuable for composers and arrangers during the initial, fragile stages of ideation, where creative flow is paramount. As one leading neuroscientist advises, this method is superior for creative work.
For art, composing music, or other creative works, I would emphasize the use of paper instead of digital methods.
– Professor Kuniyoshi L. Sakai, University of Tokyo neuroscience study
Embracing pen and paper, especially in the early stages of learning and composing, is not a step backward. It is a strategic move to build a deeper, more intuitive, and longer-lasting understanding of the language of music.
Engraving Rules: Making Your Scores Look Professional
Once your musical ideas are on paper, the next step in effective communication is ensuring they are legible to others. This is the art of music engraving. It goes far beyond simply avoiding typos; professional engraving is about achieving communicative clarity by reducing a performer’s cognitive load. A well-engraved score allows a musician to focus on expression, timing, and technique, rather than struggling to decipher ambiguous or inconsistent notation. The goal is to make the music look as effortless to read as you want it to sound.
Every element on the page—note spacing, beam angles, stem directions, and the placement of dynamics or articulations—contributes to the overall readability. Inconsistent or sloppy engraving forces the performer to waste mental energy asking questions: « Does this slur apply to this note or the next one? » « Is this rhythm pattern the same as the one on the previous page? » These moments of hesitation can disrupt a performance and betray the composer’s intent. The key principle is consistency. If a rhythmic figure appears multiple times, it should be notated and spaced identically each time.
Case Study: The Hal Leonard Standard of Readability
Professional music publishers like Hal Leonard have built their reputation on producing exceptionally clear scores. Their internal engraving experts emphasize that the primary goal is to create a visual path of least resistance for the performer. For example, they train engravers to ensure that identical rhythmic patterns are beamed and spaced in exactly the same way throughout a piece. This visual consistency builds trust, allowing the performer to recognize patterns instantly and dedicate their full attention to the music itself, rather than to the notation.
Achieving this level of clarity requires a conscious and systematic approach to layout. You must become the first and most critical editor of your own work, viewing it through the eyes of the performer who will be reading it for the first time, often under pressure. This means meticulously checking for collisions between symbols, ensuring measure widths are logical, and planning page turns so they occur during rests or sustained notes. This attention to detail is not pedantic; it is a fundamental act of respect for your collaborator’s time and talent.
Checklist for a Performer-Friendly Score
- Points of contact: Systematically scan the page and list every visual element, including notes, dynamics, text, slurs, and articulation marks.
- Collecte: Inventory the score for common layout issues. Look specifically for symbol collisions, inconsistent beam angles, and awkward page turns.
- Coherence: Confront your layout with professional standards. Are identical rhythms beamed and spaced consistently? Are dynamics and articulations unambiguously attached to their parent notes?
- Memorability/Emotion: Read through the score as if you were a performer. Identify any passage where the layout forces you to hesitate or second-guess the musical intent. Does it reduce or increase cognitive load?
- Plan d’intégration: Create a prioritized list of corrections. Start with critical fixes like collisions, then address spacing and beaming, and finally, optimize page turns for a seamless performance.
Ultimately, professional-looking notation is not about aesthetics for its own sake. It is a functional requirement for successful collaboration, ensuring your musical message is transmitted with precision and clarity.
Graphic Scores: When Standard Notation Fails
Traditional music notation is a brilliant system for communicating two primary parameters: pitch and rhythm. However, the world of sound is far richer than just notes and durations. What about timbre, texture, spatialization, or gradual changes in intensity? When a composer’s intent moves beyond the grid of the five-line staff, standard notation can become more of a hindrance than a help. This is where graphic notation comes in—a visual language that prioritizes expressive freedom over prescriptive precision.
Graphic scores use symbols, shapes, colors, and visual layouts to suggest or guide a performance rather than dictate it. Instead of a notehead on a line, you might see a thick, jagged line to indicate a harsh, distorted sound, or a series of faint, overlapping circles to suggest delicate, echoing textures. This approach gives the performer a greater degree of interpretive agency, making them an active partner in the creative process. It’s an ideal tool for experimental music, improvisation, or for composers working with electronic sounds where traditional parameters don’t apply.
The need for graphic notation arises when the composer’s focus is on the quality of the sound itself. As visionary musician and producer Brian Eno noted, the language we use to write music is intrinsically tied to the sonic possibilities of its time. When those possibilities expand, our language must expand as well.
Quite a lot of what I do has to do with sound texture, and you can’t notate that anyway. That’s because musical notation arose when sound textures were limited.
– Brian Eno, Interview on graphic notation
For the collaborating musician, understanding graphic scores opens up a new realm of communication. It allows you to convey ideas that are difficult to put into words or standard notation. Imagine trying to tell a guitarist to play « something that sounds like shattering glass, » or a synth player to create a « slowly evolving, grainy pad. » A simple drawing can often communicate these ideas more directly and evocatively than a page full of conventional notes. It shifts the conversation from « play this exact note » to « create this specific effect. »
Learning to use and interpret graphic notation is not about abandoning traditional literacy; it’s about adding a powerful and flexible tool to your communicative arsenal, ensuring you can always find the right language for the musical idea you want to share.
What’s the Difference and When to Use Which?
As a musician aiming to collaborate, knowing how to notate your ideas is only half the battle. The other half is choosing the right tool for the job. Each method of notation—handwriting, software, professional engraving, and graphic scores—has a distinct purpose, advantage, and limitation. Making the wrong choice can stifle creativity, introduce errors, or fail to communicate your intent. Making the right choice streamlines your workflow and ensures your musical vision is realized accurately.
The initial spark of an idea is often fragile. In this phase, speed and fluidity are paramount. This is where pen and paper excel. It allows for the fastest capture of melodies, rhythms, or chord progressions without getting bogged down in software menus. Its primary limitation is that it’s a poor format for distribution and collaboration. Once an idea is ready to be shared, notation software becomes essential. Programs like Finale, Sibelius, or Dorico allow for easy editing, part extraction for individual players, and instant audio playback to check for errors. However, the learning curve and rigid input methods can sometimes interrupt creative flow.
When a piece is finalized and destined for performance or publication, the focus shifts to maximum clarity. This is the realm of professional engraving, which can be done within high-end software but requires a specialized skill set focused on layout and readability. Finally, for ideas that defy traditional pitch and rhythm, graphic scores offer a language for timbre, texture, and improvisation. The following table provides a clear framework for deciding which method to use at each stage of the creative process.
This decision framework, based on a comprehensive analysis of notation workflows, helps you align your method with your goal.
| Method | Best For | Key Advantage | Limitation |
|---|---|---|---|
| Pen & Paper | Ideation, Sketching, Early Learning | Faster capture of ideas, enhanced memory encoding | Not suitable for collaboration or distribution |
| Notation Software | Collaboration, Editing, Playback | Easy revision, part extraction, digital sharing | Can slow creative flow, learning curve |
| Professional Engraving | Publication, Performance, High-Stakes Use | Maximum clarity and legibility for performers | Time-intensive, requires specialized skill |
| Graphic Scores | Sound Design, Timbre Control, Improvisation | Notates parameters beyond pitch and rhythm | Requires performer interpretation training |
By consciously selecting the right tool at the right time, you can move your ideas from initial spark to a polished, performance-ready score with greater efficiency and communicative power.
Moving the Dots: Writing for Saxophone or Trumpet
One of the most confusing, yet crucial, aspects of musical communication is transposition. When you write a « C » for a piano, you hear a C. But if you write that same « C » for a B-flat trumpet or an E-flat alto saxophone, you will hear a completely different note. This isn’t an arbitrary complication; it’s a brilliant solution designed to lower the cognitive load for instrumentalists who play multiple instruments within the same family. Understanding the « why » behind transposition is essential for any composer or arranger who wants to write effectively for winds and brass.
The system exists to create consistent fingering patterns. A saxophonist, for example, might switch between a large tenor saxophone (a B-flat instrument) and a smaller alto saxophone (an E-flat instrument) in the same performance. Thanks to transposition, the fingering for a written C is identical on both horns. This allows the player to rely on a single set of physical muscle memory, or kinesthetic anchors, regardless of which instrument they are holding. As a case study from a detailed guide on transposition shows, this system dramatically reduces the learning curve, allowing musicians to become proficient on an entire family of instruments without having to learn a new set of fingerings for each one.
As the writer, your job is to do the mental work so the performer doesn’t have to. Your workflow should be a two-step process:
- Think in Concert Pitch: First, conceive the music as you want it to actually sound to the audience. This is the « true » pitch.
- Write in Transposed Pitch: Then, for each transposing instrument, shift the notes on the page by the correct interval. This means writing the part for a B-flat trumpet a major second higher than it sounds, and the part for an E-flat alto sax a major sixth higher.
Fortunately, modern notation software can automate this process, but you still need to understand the principle to set it up correctly and to proofread the results. Forgetting to transpose a part is one of the most common and disruptive errors in arrangement, instantly causing chaos in a rehearsal. It’s a fundamental breakdown in musical communication.
By embracing transposition, you are speaking the native language of wind and brass players, providing them with a part that is physically intuitive to play and allowing them to focus on what matters most: making beautiful music.
Guideposts on the Staff: Using Reference Notes to Read Faster
For those new to reading music, the staff can feel like an intimidating grid of 11 lines and 10 spaces (counting the ledger line for Middle C). The traditional method of memorizing acronyms like « Every Good Boy Does Fine » is a common starting point, but it’s slow and inefficient. It forces you to name every single note, one by one. Fluent readers don’t do this. Instead, they use a system of landmarks or « guideposts » to navigate the staff quickly and intuitively, reading notes based on their relationship to these known points.
This landmark system works by establishing a few key notes that are instantly recognizable. The most important ones are defined by the clefs themselves: the G on the second line of the treble clef (where the clef’s curl wraps around) and the F on the fourth line of the bass clef (between the clef’s two dots). Middle C, on the ledger line between the staves, is the ultimate anchor that connects the two. Once you have these primary guideposts locked in, you can expand your system.
A highly effective method is to learn the notes on the outer edges of each staff. In the treble clef, that’s E on the bottom line and F on the top line. In the bass clef, it’s G on the bottom and A on the top. With just these few notes memorized (G, F, and C, plus the outer lines), you are never more than a step or two away from a known reference point. Instead of counting up from the bottom line to find a B, you can instantly see it as « one step above the top-line A » in the bass clef. This is the core of interval-based reading: identifying the distance between notes rather than naming each one individually.
The final layer of this system involves using octave Cs as major navigational beacons across the entire keyboard. By memorizing the positions of C3, C4 (Middle C), and C5, you can quickly orient yourself, even when reading multiple ledger lines. This tiered approach transforms the staff from a confusing ladder into a familiar map, with clear guideposts that allow for rapid and confident navigation.
By shifting from note-naming to landmark recognition, you dramatically reduce your cognitive load, freeing up mental bandwidth to focus on rhythm, dynamics, and musical expression—the true heart of the performance.
From Brain to Paper: Using Solfège to Write Down What You Hear
One of the greatest challenges for a self-taught musician is transcription: getting the music that you hear in your head or on a recording onto the written page. This is the other side of the literacy coin—not just reading, but writing. While having perfect pitch is a rare gift, anyone can develop excellent relative pitch through a powerful system known as solfège. Using syllables (Do, Re, Mi, Fa, Sol, La, Ti), solfège provides a framework for identifying the relationships between notes within a key, making it an incredibly effective tool for musical dictation.
The most flexible version of this system is « movable-do, » where « Do » is always the tonal center or « home note » of the key you’re in. This means you are training your ear to recognize the *function* of a note within a scale, not its absolute pitch. For example, the leap from « Do » to « Sol » (a perfect fifth) sounds the same emotionally and functionally whether you are in the key of C, G, or F-sharp. By internalizing the sound and feel of these intervals, you can quickly deconstruct melodies you hear.
The practical workflow for transcribing a melody using solfège is a clear, step-by-step process:
- Find « Do »: Listen to the melody several times and hum along until you can confidently identify the note that feels like the « home base » or tonal center. This note will be your « Do. »
- Sing with Syllables: Once you’ve established « Do, » sing the melody back using the solfège syllables. Your ear, trained to recognize the sound of each scale degree, will help you map the melody to the correct syllable pattern (e.g., Sol-Sol-La-Sol-Mi).
- Translate to the Staff: Determine the key of the piece. Now, you can translate your syllable sequence directly into notes on the staff, knowing that « Do » is the tonic of that key.
This method bridges the gap between your auditory perception and written notation. It systematizes the process of « playing by ear » and gives you a reliable tool for capturing musical ideas accurately. With practice, you can even learn to hear and notate entire harmonic chunks, recognizing the sound of a I chord (Do-Mi-Sol) or a V chord (Sol-Ti-Re) as a single unit.
By developing your ear with solfège, you empower yourself to not only read the language of music but to write it down with fluency and confidence, ensuring no creative idea is ever lost.
Key takeaways
- Music notation is a communication system designed to reduce ambiguity and convey artistic intent.
- Professional engraving prioritizes the performer’s cognitive ease, making music easier to read and play.
- Choosing the right notation method (handwriting, software, graphic) depends on the specific stage of your creative workflow.
Demystifying the Grand Staff for pianists and composers
For pianists, keyboardists, and composers, the grand staff is the command center. It’s a powerful tool that simultaneously displays a vast range of pitches, typically organized for the right and left hands. However, many beginners make the mistake of viewing the treble and bass staves as two separate, unrelated entities. This mental separation creates a barrier right at Middle C and makes reading feel disjointed. The key to mastering the grand staff is to see it for what it truly is: a single, unbroken pitch continuum.
The treble and bass staves are connected by the imaginary ledger line of Middle C (C4). The note just below Middle C is B3, which sits at the top of the bass staff. The note just above Middle C is D4, which sits at the bottom of the treble staff. There is no gap. This continuous nature is why advanced piano music often features the left hand crossing over to play in the treble clef, or the right hand reaching down into the bass. The staves are a guide for organization, not a rigid boundary. Your brain needs to perceive it as one large, unified system.
Just as with a single staff, using landmarks is the fastest way to navigate. The « C-octave anchor system » is particularly effective. Instead of counting lines and spaces from a note you’re unsure of, you should first memorize the location of all the Cs—C2, C3, C4, C5, and C6—across both staves. These become your primary anchors. To find any other note, you simply locate the nearest C and read the interval from there (e.g., « a third above C5 »). This turns reading ledger lines from a daunting counting exercise into a quick act of interval recognition.
This spatial understanding also leverages how our brains are wired for memory. We remember information better when it is anchored in a physical, visual space. This principle is why you can often remember where on a page of a book you read a certain fact.
If you remember a physical textbook printed on paper, you can close your eyes and visualize the photo one-third of the way down on the left-side page, as well as the notes you added in the bottom margin.
– Professor Kuniyoshi L. Sakai, University of Tokyo study on spatial memory
By training your brain to see the grand staff as a continuous map and using C-anchors to navigate it, you will dramatically increase your reading speed and confidence, allowing you to engage with complex music more fluently.